Best Blinds for Bay Windows: Measuring, Styles, and Installation Tips
Best Blinds for Bay Windows: Measuring, Styles, and Installation Tips
Bay windows are among the most architecturally striking features a home can have. They create a sense of depth, flood rooms with natural light from multiple angles, and often serve as a visual centerpiece for living rooms, dining rooms, and bedrooms. But they are also among the most challenging windows to fit with blinds or shades.
The angled or curved framing, multiple panes that need to work together visually, varying depths between panels, and the desire to preserve the bay's dramatic shape all create complications that standard rectangular window treatments do not face. This guide walks through every decision you need to make, from understanding your bay window type to measuring accurately, choosing the right treatment style, and installing it for a polished result.
Understanding Your Bay Window Type
Not all bay windows are built the same, and the type you have directly affects which treatments work best and how you need to measure.
Angled Bay Windows
The most common type. An angled bay consists of a large center window flanked by two side windows set at fixed angles, typically 30, 45, or 90 degrees from the wall. Each window section is a flat plane, which means standard flat blinds and shades can be used for each individual section.
Angled bays with 90-degree returns (box bays) are the simplest to treat because each section sits perpendicular to its neighbor. Angled bays with 30 or 45-degree returns require more careful planning to ensure adjacent treatments do not collide when operated.
Curved Bay Windows (Bow Windows)
Bow windows follow a gentle, continuous curve rather than meeting at distinct angles. They typically consist of four to six narrow window sections arranged along the arc. The curvature creates unique challenges: standard flat blinds can only be installed on each individual narrow section, and treatments must be chosen carefully to avoid a cluttered, segmented appearance across the curve.
Combination Bays
Some bay windows combine a large fixed center pane with operable casement or double-hung windows on the sides. These require treatments that accommodate different window operation types. The center fixed pane can use any treatment, but the side windows need treatments that do not interfere with the opening and closing mechanism.
Measuring Bay Windows Accurately
Accurate measurement is the single most important step in getting a great result with bay window treatments. The multi-section layout means small errors multiply across the installation, and gaps or overlaps between adjacent sections are highly visible.
Tools You Need
- Steel tape measure (not fabric)
- Notepad and pencil (do not rely on memory across multiple sections)
- Step stool for reaching the top of the frame
- Angle finder or digital protractor (for determining the angle between sections)
- Level
Step-by-Step Measuring Process
Step 1: Sketch the bay layout. Before measuring anything, draw a simple overhead diagram of your bay window showing each section and its relationship to the adjacent sections. Number each section from left to right. This sketch will be your reference throughout the ordering and installation process.
Step 2: Decide on inside mount vs. outside mount. This decision affects every measurement you take, so make it first.
- Inside mount: The treatment fits inside the window frame opening. This gives a clean, built-in look that showcases the bay window's architecture. Requires a minimum frame depth of approximately 1.5 to 3.5 inches depending on the product type.
- Outside mount: The treatment mounts on the wall or trim surface above and outside the window opening. Use this when frame depth is insufficient for inside mount, when you want to make windows appear larger, or when you need maximum light blockage.
Step 3: Measure each section individually. For inside mount, measure the width at the top, middle, and bottom of each window section, and use the narrowest measurement. Measure the height on the left, center, and right, and use the longest measurement. For outside mount, measure the total area you want to cover, adding 2 to 3 inches on each side for light gap coverage.
Step 4: Record the angles. Use an angle finder to measure the angle where each section meets the next. This information is critical for ensuring adjacent treatments do not interfere with each other and for ordering any specialty angle brackets or connectors.
Step 5: Check frame depth. Measure the depth of each window frame from the front edge to the glass. This determines whether inside mount is feasible and which product types will fit. Note that depth may vary between sections, especially in older homes.
Common Measuring Mistakes to Avoid
- Using a single measurement for all sections. Bay window sections are almost never identical, even when they appear to be. Always measure each one independently.
- Forgetting the angle clearance. Treatments on adjacent angled sections can collide when raised or lowered. Account for the thickness of the headrail and any stacking material at the top.
- Measuring only once. Measure each dimension at least twice and compare results. Any discrepancy of more than 1/8 inch warrants a third measurement.
- Ignoring obstructions. Check for window cranks, locks, and handles that could interfere with a mounted treatment.
Best Window Treatment Styles for Bay Windows
Cellular (Honeycomb) Shades
Cellular shades are one of the strongest choices for bay windows, and they are frequently our top recommendation.
Why they work: Their compact headrail and slim profile make them ideal for the tight angles of bay window sections. When multiple cellular shades are installed side by side in a bay, the consistent fabric surface creates visual cohesion across the entire bay. The honeycomb insulation structure also addresses the energy efficiency challenge that bay windows present, as their large glass area and multiple angles can be significant sources of heat loss.
Best configurations:
- Individual cellular shades on each bay section for independent control
- Top-down/bottom-up cellular shades for versatile light and privacy management
- Cordless or motorized operation to keep the bay looking clean
Considerations: Choose a single-cell shade (3/8 inch) for smaller bay sections to keep the proportions balanced, or a double-cell shade (3/4 inch) for larger sections where maximum insulation is the priority.
Explore our cellular shades for bay-friendly options.
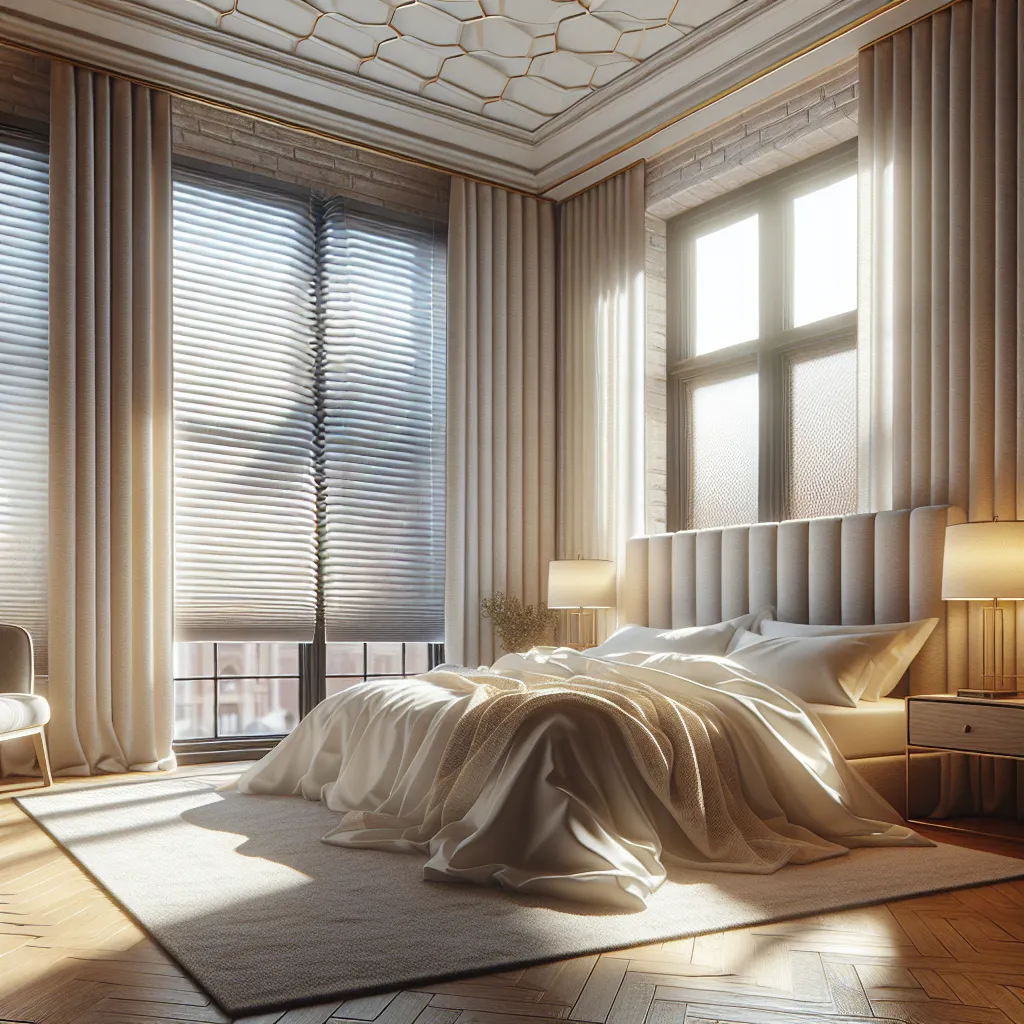
Roller Shades
Roller shades deliver the cleanest, most modern look in a bay window. Their minimal headrail profile and flat fabric face create an uncluttered appearance that lets the bay architecture speak for itself.
Why they work: The slim cassette or open-roll design takes up minimal frame depth, which is often limited in bay windows. When all sections use matching fabric and are set to the same position, the visual effect is sleek and unified. Motorized roller shades are particularly effective in bays because they allow all sections to move in perfect sync with a single command.
Best configurations:
- Matching roller shades on each section with synchronized motorized control
- Solar screen roller shades to reduce glare while preserving the panoramic view
- Blackout roller shades for bedroom bay windows
Considerations: On angled bay sections, ensure the roller shade cassette or tube does not extend beyond the window frame where it could collide with the adjacent section's treatment.
See our roller shade collection for options that suit bay windows.
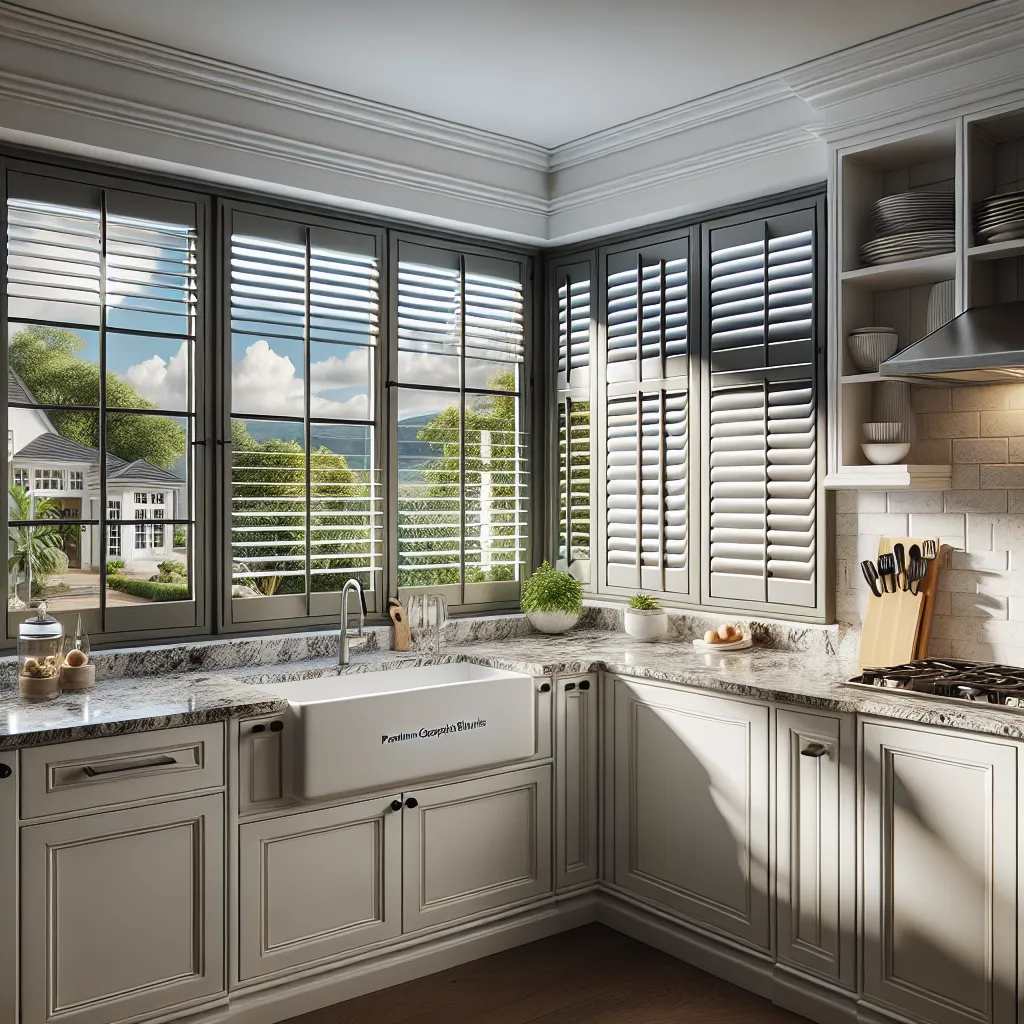
Plantation Shutters
For a more traditional or transitional look, plantation shutters transform a bay window into a show-stopping architectural feature. Custom shutters are built to fit each section precisely, and when installed by a professional, they create a seamless, built-in appearance that no other treatment matches.
Why they work: Shutters follow the lines of the bay window perfectly, making the entire installation look like an original architectural element rather than an add-on. The adjustable louvers provide excellent light control, and shutters are extremely durable, lasting decades with minimal maintenance.
Best configurations:
- Full-height shutters on each section for a classic look
- Cafe-style shutters (lower half only) to maintain privacy while keeping the upper portion open for light and views
- Tier-on-tier shutters with independently operating top and bottom sections
Considerations: Shutters require the deepest frame depth of any treatment, typically 2.5 to 3.5 inches for inside mount. They are also the most expensive option. For bow windows with tight curves, shutter panels may need to be narrower than ideal to follow the arc, which can look busy.
Browse our plantation shutters for custom bay window solutions.
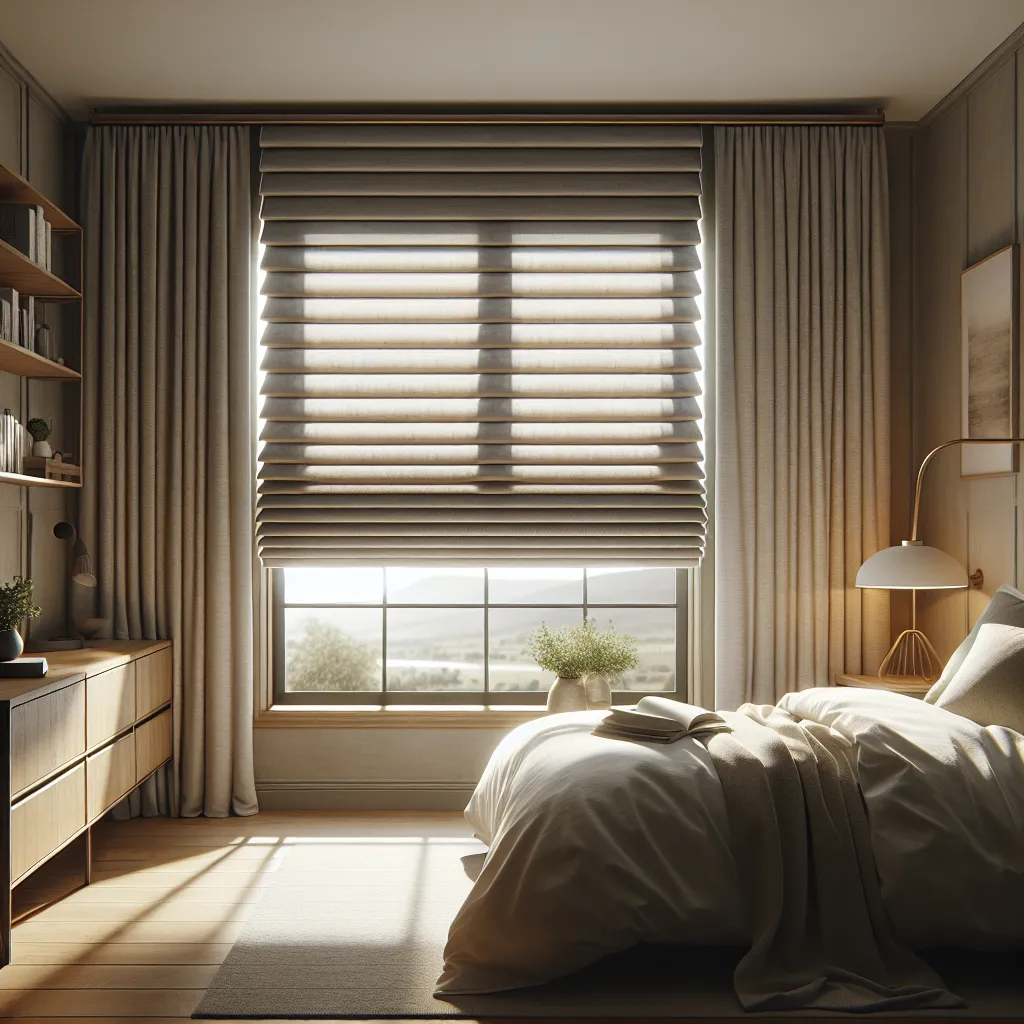
Roman Shades
Roman shades add a soft, textured element that counterbalances the hard angles of a bay window frame. They are an excellent choice when you want warmth and visual interest without the bulk of curtains.
Why they work: The flat front surface when lowered presents a clean fabric face similar to a roller shade, but the horizontal folds when raised add visual texture and softness. In a bay window, matching Roman shades across all sections create a cohesive, collected look that feels intentional and designed.
Best configurations:
- Flat-fold Roman shades for a contemporary bay
- Relaxed or hobbled Roman shades for a casual, inviting bay
- Blackout-lined Roman shades for bedroom bays
Considerations: Roman shades stack more material at the top when raised than roller or cellular shades. In bay sections with limited headroom, this stack can block some of the glass. Choose a style with minimal stacking if maximizing the view when shades are raised is important.
Check out our Roman shades collection for bay window-friendly fabrics and styles.
Vertical Cellular Shades and Panel Tracks
For very large bay windows or bay windows with sliding door sections, vertical cellular shades or panel track blinds offer an alternative to traditional horizontal treatments.
Why they work: They slide horizontally rather than raising vertically, which avoids the stacking issue entirely. Panel tracks in particular can cover very wide sections with minimal hardware.
Best configurations:
- Vertical cellular shades for large bay sections with sliding components
- Panel track blinds for wide center sections in combination bays
Considerations: These treatments have a distinctly modern aesthetic that does not suit all home styles. They also require adequate stacking space to one or both sides when open.
Individual Sections vs. Continuous Headrail
One of the key decisions for bay window treatments is whether to install individual, separate treatments on each window section or use a continuous headrail system that spans the entire bay.
Individual Sections
Pros:
- Each section operates independently
- Easier to measure and install
- Simpler to replace a single section if damaged
- Works with any treatment type
Cons:
- Visible gaps between sections where headrails meet
- Light leaks through gaps, especially with inside mount
- Requires careful coordination to maintain visual consistency
Continuous Headrail
Pros:
- Seamless appearance across the entire bay
- Eliminates light gaps between sections
- Creates a polished, custom-built look
Cons:
- Requires professional measurement and installation
- More expensive
- Limited to certain treatment types (primarily blinds and some cellular shades)
- If one section fails, the entire system may need service
Our recommendation: For most homeowners, individual sections with carefully matched treatments offer the best balance of appearance, function, and practicality. Use matching fabric, color, and headrail style across all sections, and specify consistent mounting heights to create visual unity even with separate installations.
Inside Mount vs. Outside Mount for Bay Windows
Both mounting approaches work for bays, but each has specific advantages in this context.
Inside Mount Advantages for Bays
- Preserves the architectural lines of the bay window frame
- Each section is self-contained within its frame, creating a clean, built-in look
- Does not interfere with window operation (opening casements, turning cranks)
- Showcases decorative trim and woodwork
Outside Mount Advantages for Bays
- Covers the full window opening including frame, reducing light leaks
- Works when frame depth is insufficient for inside mount
- Can make small bay windows appear larger
- Hides imperfections in the frame or trim
The Hybrid Approach
A practical approach for bays with insufficient depth on the side sections but adequate depth on the center section is to inside mount the center treatment and outside mount the sides. When executed with matching products and careful alignment, this hybrid approach looks intentional and resolves depth issues without compromising the center window's clean appearance.
Installation Tips for Professional Results
Alignment Is Everything
In a bay window, every treatment is visible in context with every other treatment. A headrail that is 1/4 inch higher on one section than its neighbor is immediately noticeable. Use a laser level to establish a consistent mounting height line across all sections before drilling any holes.
Account for Light Gaps
Where inside-mounted treatments on adjacent sections meet, small triangular light gaps can appear due to the angle between sections. Minimize these by:
- Mounting treatments as close to the front of the frame as possible
- Using slightly wider treatments that overlap the frame edges
- Adding a thin light-blocking strip along the angled junction if gaps are unacceptable
Mind the Hardware
On angled bay sections, headrail end caps and brackets can protrude into the angle junction area. Before ordering, verify that the selected product's brackets and end caps will not collide with the adjacent section's hardware. Request a sample bracket from the manufacturer if dimensions are not clearly documented.
Consider Motorization for Bays
Bay windows are one of the strongest use cases for motorized blinds. Operating three to five individual manual treatments multiple times a day is tedious, and the visual effect of all sections moving together in sync is dramatically more polished than manually adjusting each one independently. The investment in motorization pays dividends in daily convenience with bay windows more than almost any other window type.
Test Before Committing
If you are unsure which treatment style will look best in your bay, order free samples and tape them to the glass in each section. View them from across the room, from the seats where you typically sit, and from outside the house to evaluate the appearance from multiple perspectives.
Cost Expectations
Bay window treatments cost more per window than standard rectangular windows due to the custom sizing, multiple sections, and installation complexity.
| Treatment Type | Per Section (Avg.) | Full 3-Section Bay | Full 5-Section Bow |
|---|---|---|---|
| Cellular shades | $80-$200 | $240-$600 | $400-$1,000 |
| Roller shades | $70-$180 | $210-$540 | $350-$900 |
| Roman shades | $150-$350 | $450-$1,050 | $750-$1,750 |
| Plantation shutters | $250-$500 | $750-$1,500 | $1,250-$2,500 |
| Motorization add-on | $80-$200/section | $240-$600 | $400-$1,000 |
These ranges reflect standard-quality products with custom sizing. Premium materials, specialty fabrics, and professional installation will add to the total.
Bringing It All Together
Bay windows deserve treatments that honor their architectural presence while delivering the light control, privacy, and energy efficiency your home needs. The key takeaways:
- Identify your bay type (angled, curved, or combination) before selecting treatments
- Measure meticulously, treating each section as an independent window
- Choose a treatment style that fits your frame depth, design preferences, and functional needs
- Maintain visual consistency across all sections with matching materials, colors, and mounting heights
- Consider motorization for the best daily experience and visual impact
Ready to find the perfect treatment for your bay windows? Browse our full collection of window blinds and shades or contact our design team for personalized recommendations. We can help you navigate the measuring process and select treatments that make your bay window the showpiece it was designed to be.