Complete Guide to RV Window Coverings: Best Blinds for Campers & Motorhomes
The Complete Guide to RV Blinds and Window Coverings
Whether you're a weekend warrior with a travel trailer or a full-time RVer crossing the country, your window coverings matter more than you might think. The blinds that came with your RV were likely the cheapest option the manufacturer could source — and after a few years of road vibration, UV exposure, and temperature swings, they show it.
Upgrading your RV window coverings improves insulation, light control, privacy, and the overall look of your living space. But you can't just grab any blinds off the shelf. RV windows present unique challenges that require specific solutions.
This guide covers everything you need to know about choosing, measuring, and installing the right blinds for life on the road.
Why Standard Household Blinds Don't Work in RVs
Before diving into recommendations, it helps to understand why your home blinds won't survive RV life:
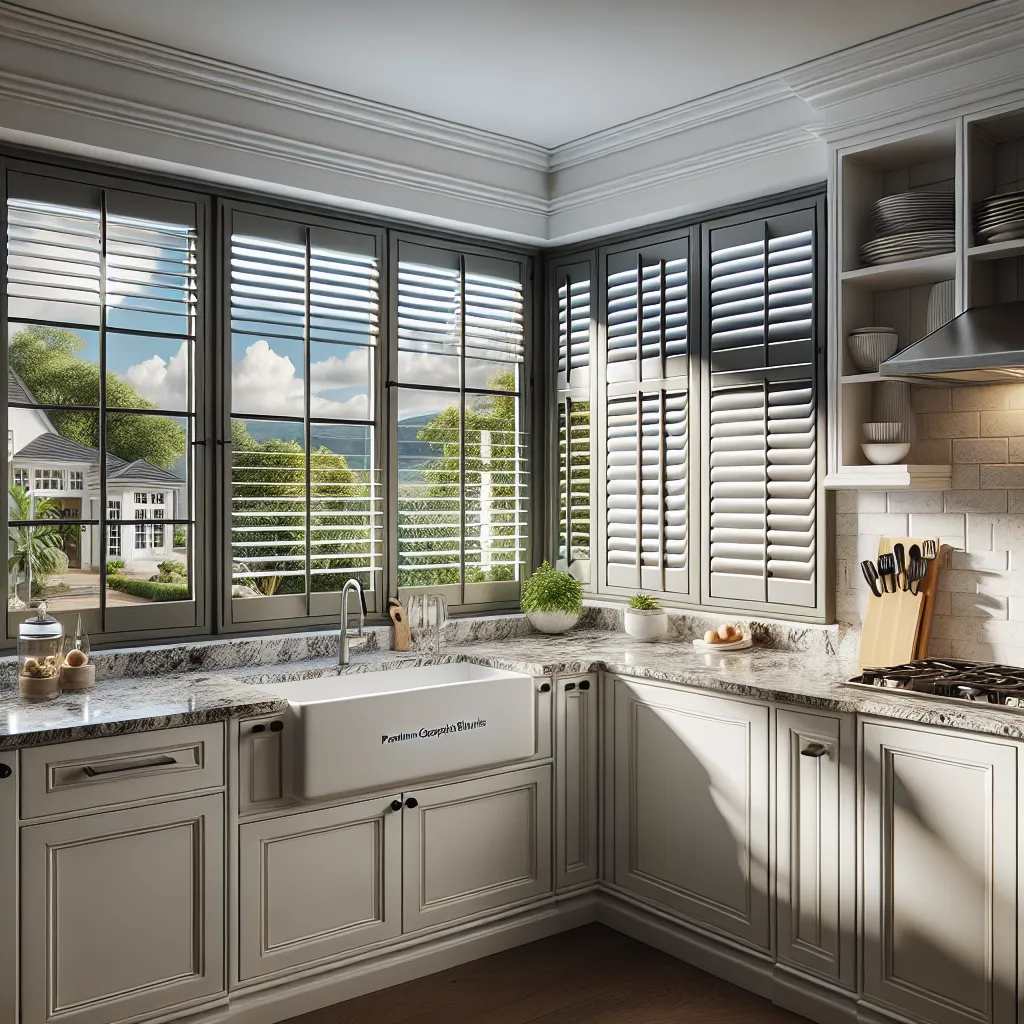
Non-Standard Window Sizes and Shapes. RV windows rarely conform to standard residential dimensions. You'll encounter narrower frames, rounded corners, curved walls, and windows that tilt outward. Standard blinds simply don't fit.
Constant Vibration. Every mile on the road means thousands of micro-vibrations. Traditional blinds with individual slats rattle, loosen, and break apart far faster in an RV than they would mounted on a solid wall at home. Slatted blinds like wood or faux wood are particularly vulnerable.
Extreme Temperature Swings. Your RV can go from freezing overnight to 120 degrees inside on a sunny afternoon. Materials need to handle repeated expansion and contraction without warping, cracking, or delaminating.
Limited Space and Weight Considerations. Every ounce matters when you're towing or managing fuel efficiency. Heavy window treatments like wood blinds or thick draperies add unnecessary weight and take up space you don't have.
Moisture Exposure. From steamy showers in tight bathrooms to condensation on cold mornings, RV interiors see far more moisture fluctuation than a typical home. Materials need to resist mold, mildew, and water damage.
Best Blinds for RVs
Here are the top window covering styles that handle RV life well, ranked by overall suitability:
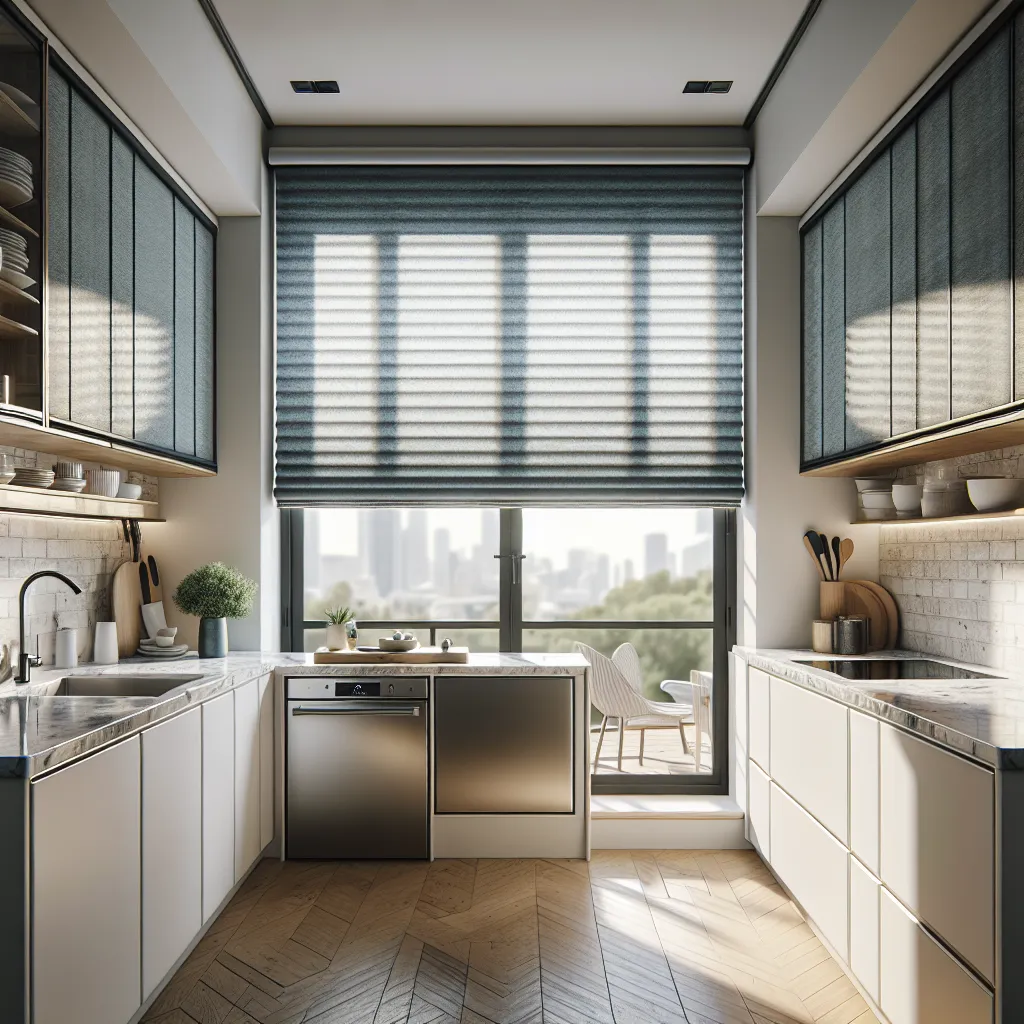
1. Cellular (Honeycomb) Shades — Best Overall
Cellular shades are the single best window covering for RVs, and it's not even close. Here's why:
- Superior insulation. The honeycomb cell structure traps air, creating a thermal barrier that keeps heat out in summer and warmth in during cold nights. Single-cell shades work well; double-cell provides even more insulation.
- Lightweight. Cellular fabric weighs a fraction of what wood or faux wood blinds weigh.
- No rattling. The continuous fabric construction has no individual slats to vibrate and clatter on the road.
- Compact. They stack tightly when raised, taking up minimal headroom.
- Sound dampening. The cellular structure absorbs noise — a real benefit when you're parked at a busy campground.
Look for cordless cellular shades for the cleanest look and safest operation in tight RV spaces. Many manufacturers offer custom sizing that accommodates the non-standard dimensions common in RVs.
Browse our cellular shades collection for options that work beautifully in RVs.
2. Roller Shades — Best for Minimalist Setups
Roller shades are the simplest, most space-efficient option:
- Ultra-compact. When raised, the fabric rolls into a tube just 2-3 inches in diameter at the top of the window.
- Easy to clean. A single piece of fabric wipes down quickly — critical when you're dealing with dust from dirt roads or campsite debris.
- Lightweight. Minimal hardware and thin fabric keep weight down.
- Available in blackout. Blackout roller shades are excellent for RV bedrooms where campground lights and early sunrises can disrupt sleep.
- Easy installation. Inside or outside mount with just a few screws.
The main drawback is that roller shades offer limited insulation compared to cellular. If temperature control is your priority, go cellular. If space savings and simplicity matter most, go roller.
Check out our roller shades for clean, modern options.
3. Pleated Shades — Best Budget Option
Pleated shades have been a staple in RVs for decades, and for good reason:
- Very lightweight. Among the lightest window covering options available.
- Affordable. Typically the least expensive custom window treatment.
- Slim profile. The pleated fabric stacks compactly when raised.
- Available in RV-specific sizes. Many manufacturers make pleated shades specifically for common RV window dimensions.
The downside is durability. Pleated shades lack the structural cells of honeycomb shades, so the fabric can lose its crispness over time, especially in high-heat environments. They also offer less insulation than cellular shades. Consider them a solid budget option, but expect to replace them more frequently.
4. Day/Night Shades — Best for Versatility
Day/Night shades (also called combo shades) feature two fabric panels on one headrail:
- Top section: Sheer or light-filtering fabric that lets in natural light while maintaining some privacy.
- Bottom section: Opaque or blackout fabric for complete privacy and light blocking.
You can position each panel independently, giving you full control over light and privacy from a single window treatment. They're especially popular for RV living areas where you want natural light during the day but complete privacy at night.
Many RV manufacturers install day/night shades as standard equipment, so you'll find a wide range of RV-specific replacement options available.
Measuring RV Windows
Accurate measurements are critical for RV windows because they're often non-standard and irregularly shaped. Here's how to measure correctly:
Step 1: Determine Your Mount Type
- Inside mount: The shade mounts inside the window frame. Requires at least 1.5 inches of flat frame depth. Gives a cleaner, built-in look.
- Outside mount: The shade mounts on the wall surface above or around the window. Use this when the window frame is too shallow for inside mount or when you want to cover an irregularly shaped frame.
Step 2: Measure Width
For inside mount, measure the width at three points — top, middle, and bottom of the window opening. Use the narrowest measurement. RV window frames are often slightly out of square due to the manufacturing process and road stress over time.
For outside mount, measure the window opening and add 2-3 inches on each side for full coverage.
Step 3: Measure Height
Measure height on the left side, center, and right side of the opening. Use the longest measurement for inside mount to ensure full coverage.
Step 4: Account for Odd Shapes
Many RV windows have rounded corners. Measure to the point where the curve begins, not to the edge of the curve. For inside mount shades, the rectangular shade will cover most of the rounded corner naturally. For a perfect fit on heavily curved windows, consider outside mount to overlap the curves entirely.
Step 5: Check for Obstructions
Before ordering, check for cranks, latches, handles, or other hardware that might interfere with the shade's operation. Note the position and depth of any obstructions so you can account for them when choosing mount location and shade style.
Pro tip: Measure each window individually, even if they look identical. RV windows that appear the same size often differ by a quarter inch or more, and that variance matters for custom shades.
Installation Tips for RVs
Installing blinds in an RV differs from a standard home installation. Keep these tips in mind:
Understand Your Wall Construction
RV walls are typically a thin sandwich of exterior fiberglass or aluminum, foam or wood insulation, and interior paneling (usually thin luan plywood or vinyl). There's rarely a solid stud to screw into. Use the following approach:
- For lightweight shades (cellular, pleated): Standard screws into the window frame usually hold fine, as the frame is typically solid wood or aluminum.
- For heavier shades (roller with blackout fabric): Use toggle bolts or hollow wall anchors if mounting to the wall rather than the frame.
- Avoid over-tightening. RV wall panels crack and split easily.
No-Drill Options
If you'd rather not put holes in your RV walls (especially relevant for renters or lease situations):
- Tension-mount shades: Spring-loaded rods that press-fit inside the window frame. Best for smaller windows.
- Adhesive-mount brackets: High-strength adhesive brackets that hold lightweight shades. Modern 3M VHB tape options are surprisingly strong.
- Magnetic mounts: Some aftermarket systems use magnets on the window frame. Works well on RVs with metal frames.
- Velcro mounting: Attach industrial Velcro strips to the frame and shade. Easy to remove and reposition.
Use Thread-Locking Compound
Road vibration will loosen screws over time. Apply a small dab of medium-strength thread-locking compound (like Loctite Blue) to mounting screws. This keeps them snug without making them impossible to remove later.
Level Isn't Guaranteed
Your RV may not be perfectly level when you're installing blinds (or ever, really). Use a small level during installation, and if the RV is parked on uneven ground, do your best to shim it level before mounting. Shades installed off-level will operate unevenly and look crooked once you're on flat ground.
Insulation and Temperature Control on the Road
Window coverings play a bigger role in RV temperature control than they do in a stick-built home. RV windows are typically single-pane and poorly insulated, making them the primary source of heat gain in summer and heat loss in winter.
Summer Heat Management
- Reflective-backed shades bounce solar radiation back out the window, reducing interior temperature by 10-15 degrees on hot days.
- Position matters. Keep shades fully closed on the sun-facing side of your RV and open on the shaded side for natural light without the heat load.
- Cellular shades with reflective backing offer the best combination of insulation and solar rejection.
Winter Heat Retention
- Double-cell honeycomb shades create two insulating air pockets, significantly reducing heat loss through windows.
- Keep shades closed at night when temperatures drop, then open sun-facing shades during the day to capture free solar heat.
- Seal the edges. Even the best insulating shade loses effectiveness if air flows around the edges. Inside-mount shades with a close fit to the frame perform best. Side channels or tracks (available on some premium shades) virtually eliminate edge gaps.
Energy Savings Impact
In an RV, where your furnace runs on propane and your air conditioner draws significant generator or shore power, effective window insulation directly saves you money. Full-time RVers report propane savings of 20-30% after upgrading from stock blinds to quality cellular shades — savings that add up fast over a season.
Best Materials for RV Life
Not all fabrics and materials survive RV conditions equally. Here's what to look for:
Moisture Resistance
Choose synthetic fabrics (polyester, PVC-free vinyl) over natural materials. RV bathrooms generate steam in a tiny space, and condensation is common on cold mornings. Fabrics treated with antimicrobial coatings resist mold and mildew growth.
UV Resistance
Sun damage fades and weakens fabric over time, and RV windows often face intense, sustained sun exposure. Look for fabrics with UV-resistant treatments or solution-dyed fibers (where the color goes all the way through the fiber rather than just on the surface).
Vibration Durability
Avoid materials with rigid components that can crack or snap under repeated vibration — this rules out wood, faux wood, and vertical blinds for most RV applications. Soft, flexible fabrics like cellular and roller shade materials handle road vibration without damage.
Easy to Clean
Dust, pollen, campfire smoke, and road grime are part of RV life. Choose materials you can wipe clean with a damp cloth or vacuum with a brush attachment. Avoid textured fabrics that trap and hold dust.
Flame Resistance
Some campgrounds and RV parks require flame-resistant window coverings, and it's a smart safety choice regardless. Many commercial-grade shade fabrics come with inherent or applied flame-resistance ratings. Check the product specifications if this is important to you.
Making Your Choice
For most RV owners, here's the decision simplified:
- Best all-around choice: Cordless cellular shades in a moisture-resistant, light-filtering fabric. They insulate, they're quiet on the road, they're lightweight, and they look great.
- Best for sleeping areas: Blackout roller shades or blackout cellular shades.
- Best for tight budgets: Pleated shades in RV-specific sizes.
- Best for versatility: Day/night combo shades for living areas.
Whatever you choose, upgrading from stock RV blinds is one of the most impactful improvements you can make to your home on wheels. Better insulation, better light control, better privacy, and a dramatically improved interior appearance — all from a relatively affordable upgrade.
Need help choosing the right window coverings for your RV? Contact our team with your RV make, model, and window measurements, and we'll recommend the best options for your specific setup.